The Ultimate Guide to Writing Calligraphy on Mirrors
October 30, 2024
Writing calligraphy on mirrors is a unique way to create stunning wedding decor, event signage, and other memorable displays. As a wedding calligrapher for over a decade now, I have to admit, it’s still one of my favorite surfaces to “write pretty on.” In this blog post, I’ll share my top techniques for flawless mirror lettering that looks both professional and beautiful. So, let’s grab our supplies and dive into creating gorgeous calligraphy on mirrors!

Why Calligraphy on Mirrors Stands Out
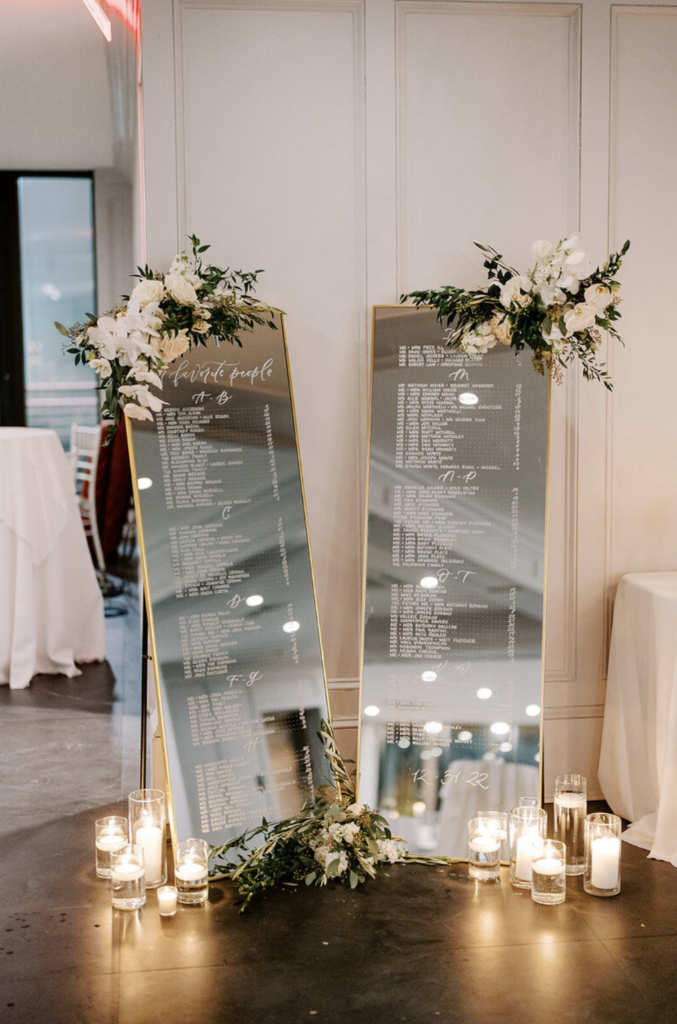
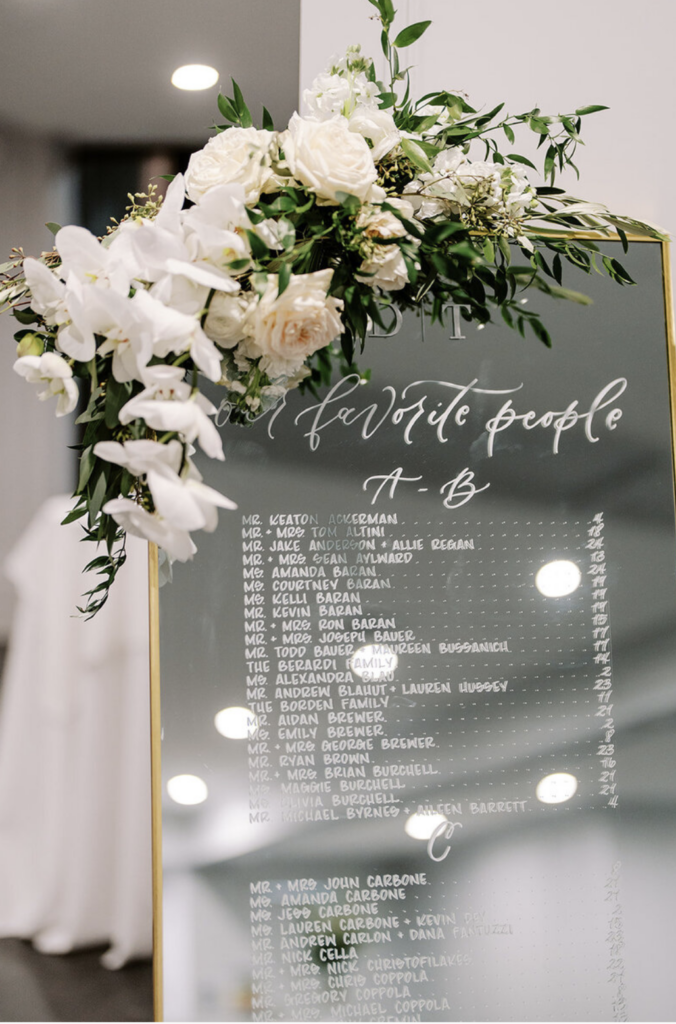
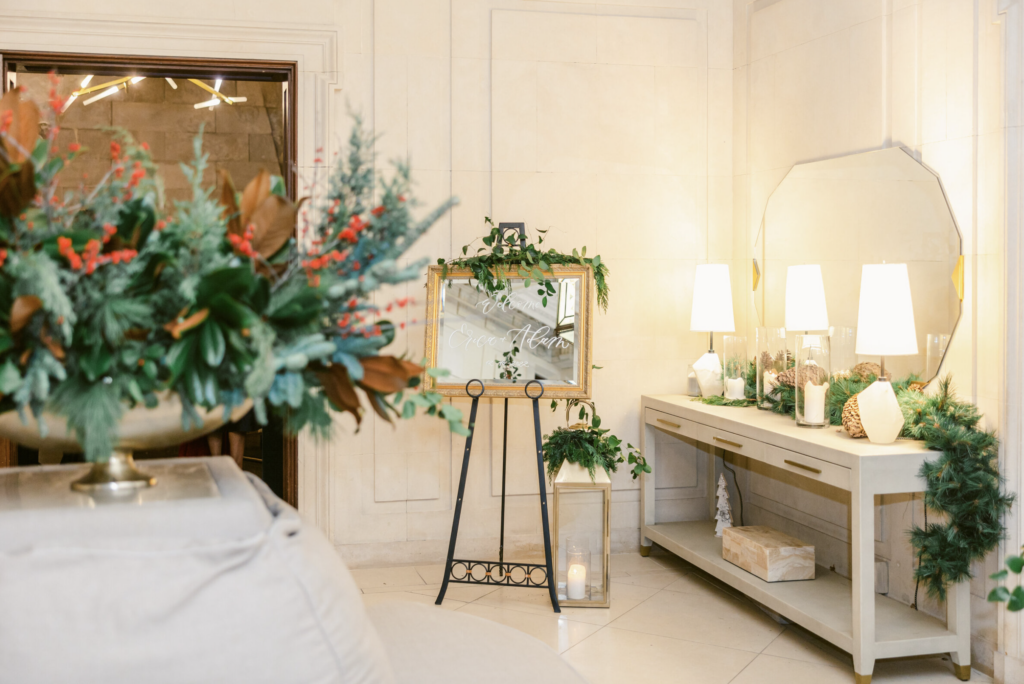
First, adding calligraphy to mirrors instantly enhances any event. The reflective surface brings a chic look to wedding welcome signs, seating charts, and more. Plus, mirrors are forgiving—you can easily correct mistakes with a microfiber cloth and Windex. Practicing calligraphy on mirrors lets you refine your skills, knowing you can fix errors along the way. What more could you ask for?
Must-Have Supplies for Writing Calligraphy on Mirrors
Before we talk about “how”, we need to talk about supplies. Using the right supplies is so important for a smooth and satisfying calligraphy experience on mirrors. Here’s a list of my go-to tools:
- Microfiber Cloth & Windex: Keep these handy to clean the mirror and erase mistakes. You’ll be glad to have these for a quick refresh.
- Ruler Tape & Tape Measure: These help create straight lines and keep your design centered, making sure everything looks polished. You can’t just “eye ball” a 250 person seating chart!
- Water-Soluble Pencil: I recommend the Stabilo White Colored Pencil for easy-to-remove sketching. You can outline your design and simply wipe it away once you’ve finished.
- Markers: Choose oil-based markers for long-lasting calligraphy and water-based markers for temporary designs. Oil-based markers are best for welcome signs or seating charts, while water-based markers allow for easy removal.
Check out my curated Amazon shop for my favorite calligraphy supplies, including these essentials!
Preparing Your Mirror Surface
Now, let’s talk about how to write in calligraphy on mirrors (which starts with prepping the mirror!). Preparing the mirror before starting is key if you want a smooth writing process. I recommend you Follow these steps:
- Use Windex and a microfiber cloth to remove dust, fingerprints, and smudges. A clean surface ensures smoother writing.
- Next, plan your layout. Align your design with ruler tape or a measuring tape. This step keeps lines straight and ensures your design is centered.
- Finally, use a Stabilo pencil to lightly outline your lettering. This way, you’ll have a clear guide to follow, and it’s easily removable with a cloth after you finish.

Techniques for Flawless Writing Calligraphy on Mirrors
1. Pick the Right Marker for Your Needs
If you want to write calligraphy on mirrors, you need to right marker. Water-Based Markers are perfect for temporary signage, as they wipe away easily with Windex. These work well if your design needs to be removed after an event. Oil-Based Markers, on the other hand, create longer-lasting calligraphy, making them ideal for signage that will be displayed over time. If you need to remove oil-based ink, use Windex and a razor blade for a clean finish.
2. Prevent Smudges as You Work
Next, mirrors easily show smudges and fingerprints, so keep a microfiber cloth under your hand while writing calligraphy. This simple trick will prevent body oil or smudges from interrupting your clean lines and keeps the mirror looking pristine.
3. Double-Check Measurements
“Measure twice, write once” is my biggest piece of advice for mirror calligraphy. Double-checking measurements helps avoid misalignment, which is especially helpful for larger projects like seating charts or menus. Take your time to make sure everything looks just right before you start writing.
Fixing Mistakes on Mirrors
Mistakes happen, especially when working on a smooth surface like a mirror. Here’s how to correct them:
- Microfiber Cloth & Windex: Use these to gently erase minor mistakes. Clean the area thoroughly before continuing to write.
- Razor Blade for Stubborn Marks: For oil-based markers, use a razor blade to carefully scrape off any mistakes without damaging the mirror.
Mirrors offer flexibility for calligraphers because they’re so easy to clean. This makes them a great option for beginners who are still practicing and refining their technique.
Practice Makes Perfect
Like I keep saying, practicing writing calligraphy on a mirror allows you to test different styles and techniques. Mirrors are highly forgiving surfaces, so practice as much as you need. Each project will help you feel more comfortable and confident, allowing you to explore various fonts and lettering styles.

Writing Calligraphy on Mirrors
Adding calligraphy to mirrors can transform any event into an elegant, memorable experience. The reflective surface brings a unique dimension to wedding decor, signage, or even home decor. With the right tools and these helpful techniques, you can confidently add mirror calligraphy to your skill set.
Ready to bring beautiful calligraphy to your next event? Contact me here for custom signage, or check out my latest work on Instagram @writeprettyforme. Or, if you are a fellow calligrapher looking to grow your business and get real systems, support, and mentorship as you grow, check out how you can work with me here!